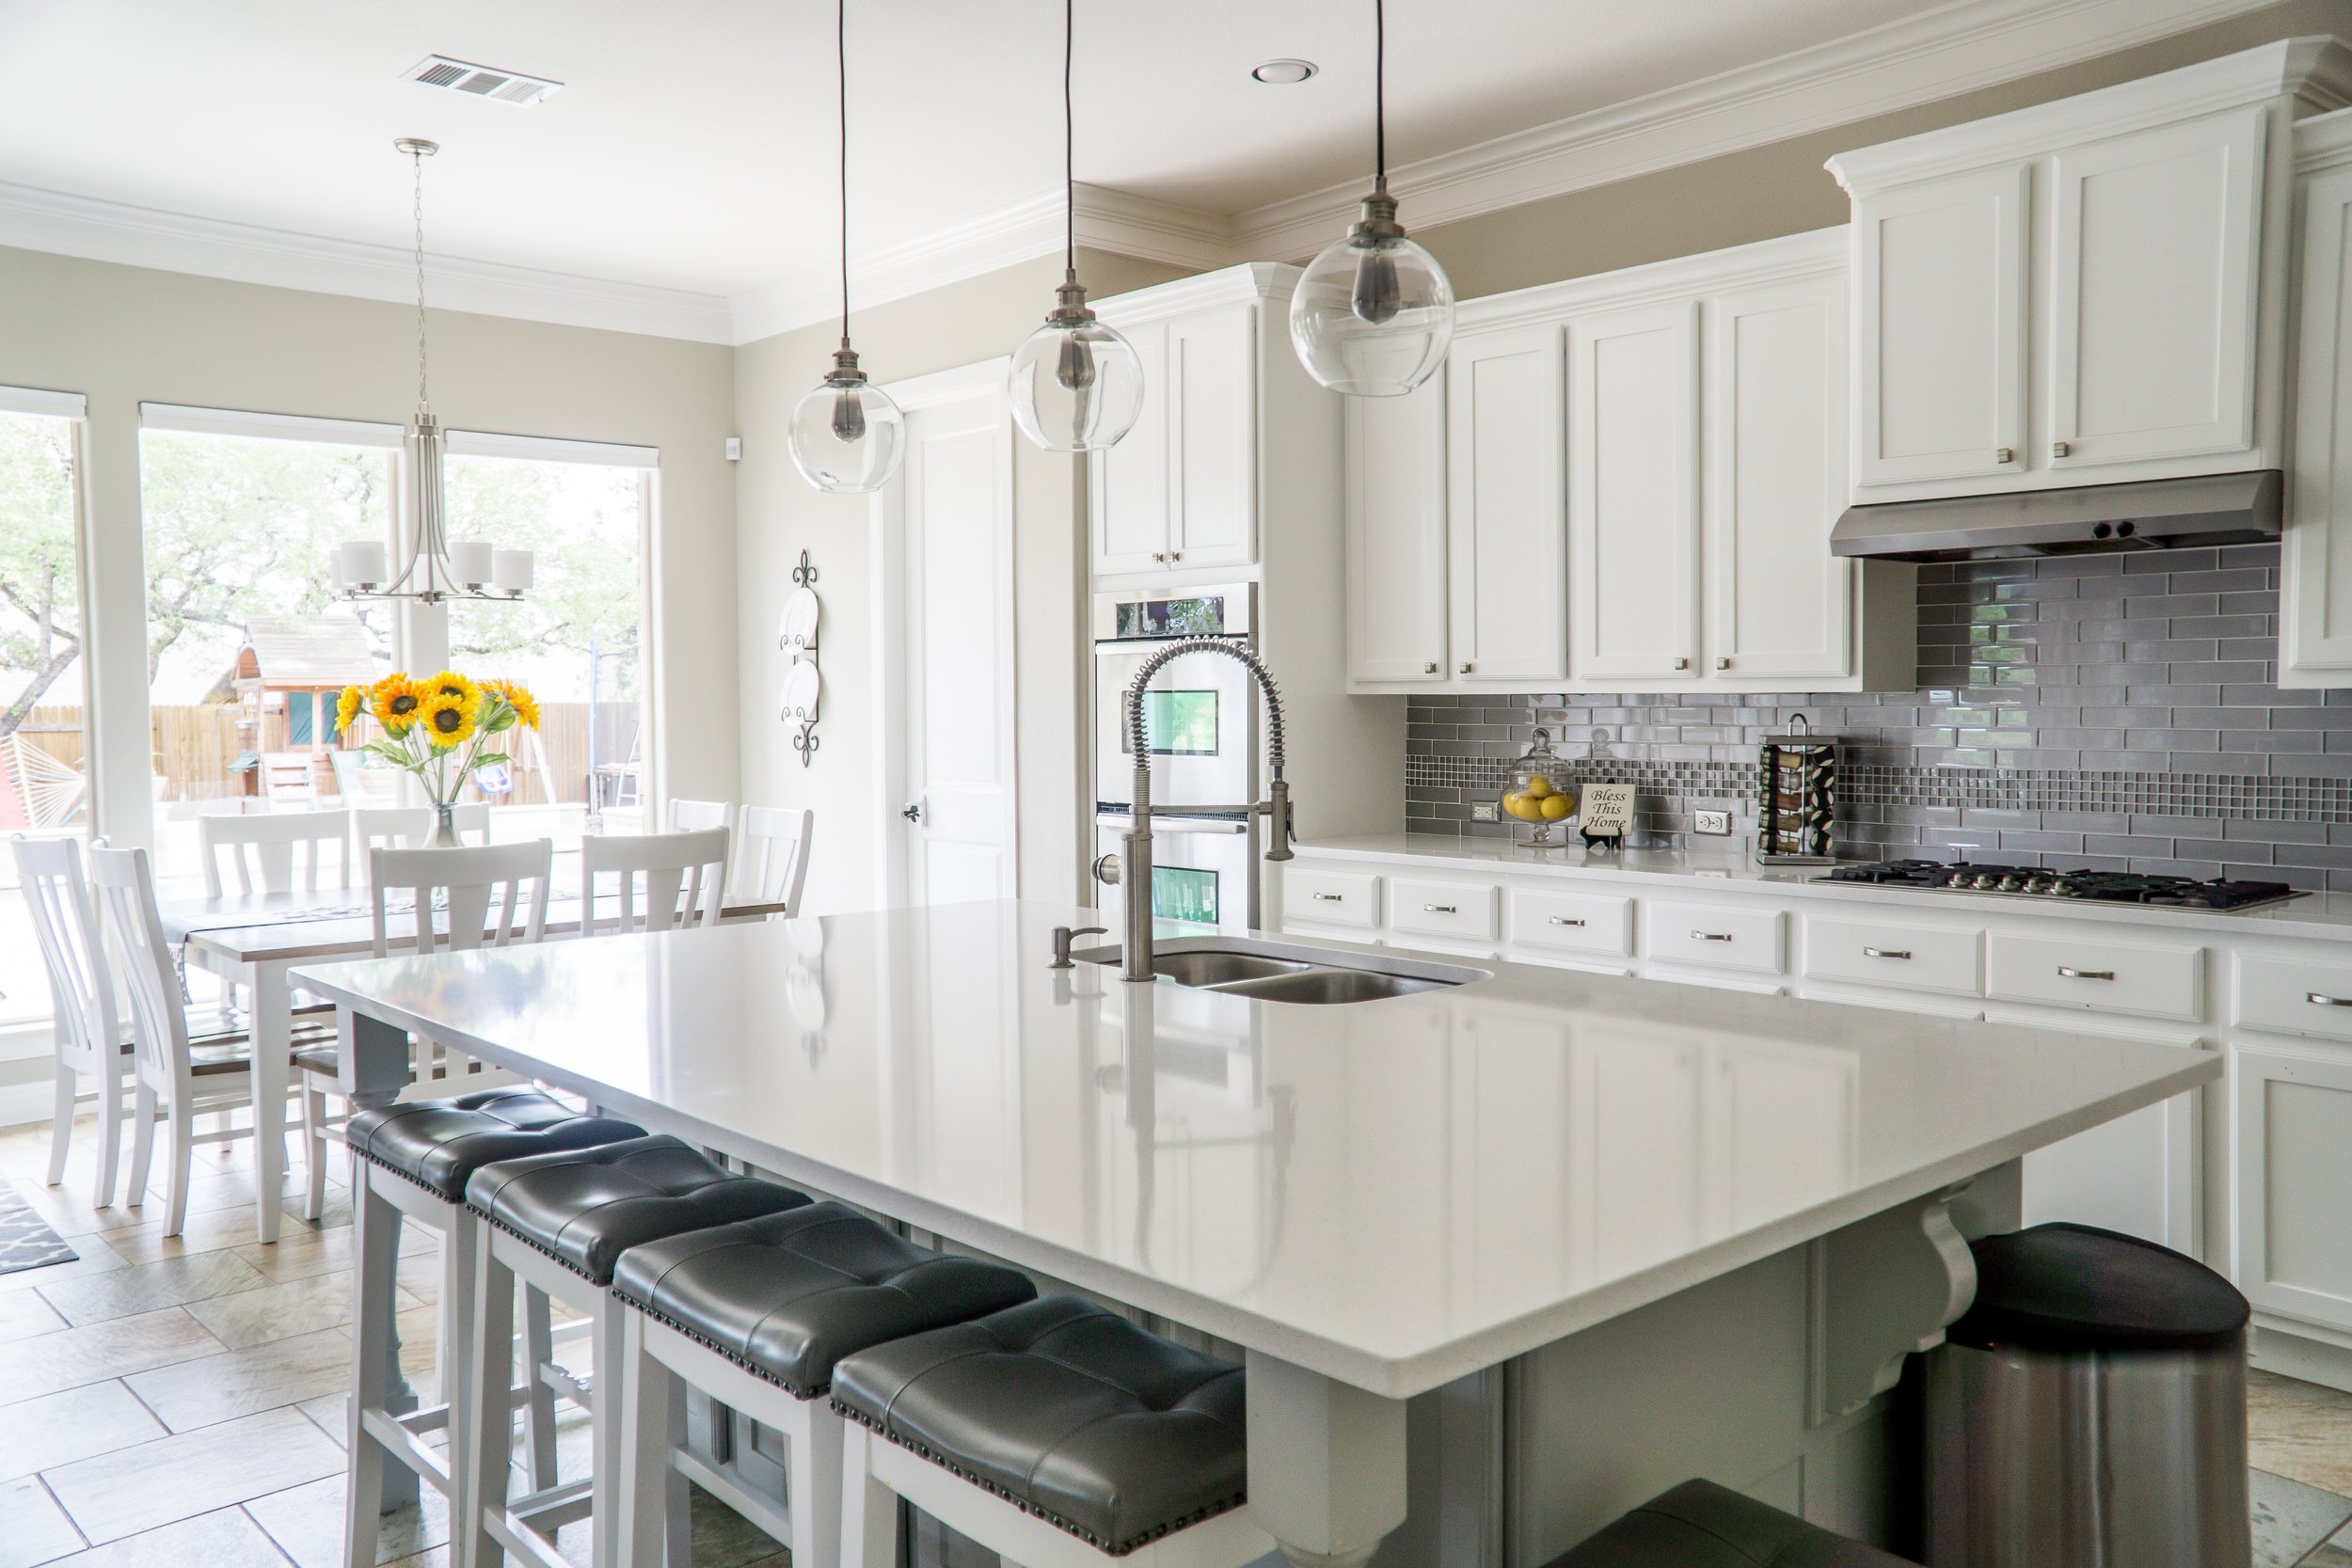
A kitchen pantry cabinet is a great way to get organized and add extra storage to your kitchen. If you’re not sure how to build one, don’t worry! We’ve got you covered.
In this blog post, we’ll walk you through the process of building a kitchen pantry cabinet step-by-step. So whether you’re a budding DIYer or a seasoned pro, we’ll help you get the job done. Let’s get started!
Step 1: Choose your wood
When it comes to wood selection, there are a few things you’ll want to keep in mind. First, think about what type of wood will best match the rest of your kitchen. If you have Oak cabinets, for example, you’ll probably want to use Oak for your pantry cabinet as well. Second, consider the weight of the wood.
Depending on how big your pantry cabinet will be, you may need to use a lighter wood like Pine so that it’s not too heavy for your walls. Lastly, think about the finish of the wood. Do you want it to be stained? Painted? Natural? The choice is up to you!
Step 2: Cut your lumber to size
Once you’ve selected your wood, it’s time to cut it to size. If you’re not comfortable using power tools, no worries! You can always ask your local hardware store to do it for you. Just be sure to measure twice and cut once so that all of your pieces are exactly the right size.
Step 3: Assemble the frame
Now it’s time to start putting your pantry cabinet together! Begin by attaching the side panels to the top and bottom boards using wood screws or nails and some glue. Then, add the back panel and secure it in place with more screws or nails. At this point, your frame should be fully assembled and starting to look like a cabinet!
Step 4: Attach the shelves
Once your frame is complete, it’s time to add some shelves so that you can actually start storing things in your new pantry cabinet. Start by measuring the space between each shelf bracket and cutting your shelves accordingly. Then, simply slide each shelf into place and secure it with screws or nails. And that’s it—your shelves are now installed!
Step 5: Hang the doors (optional)
If you want your pantry cabinet to have doors, now is the time to hang them! Start by measuring the opening of your cabinet frame and cutting your doors accordingly. Then, use hinges to attach each door securely to the frame. Once they’re hung, add any handles or knobs that you want—and don’t forget to give them a good coat of paint or stain so that they match the rest of your kitchen cabinetry!
Step 6: Add trim (optional)
For a finishing touch, consider adding some trim around the edges of your pantry cabinet doors (if you decided to add doors in Step 5). This will give them a nice finished look and help them blend in with the rest of your kitchen cabinetry even more seamlessly. Simply measure and cut each piece of trim according to its location on the door, then attach it with screws or nails—it’s that easy!
Step 7: Install drawer pulls (optional)
If you’re adding drawers (instead of doors) in Step 6, now is the time to install their drawer pulls! Again, simply measure and mark where each pull should go on each drawer front before attaching them with screws or nails—then stand back and admire your handiwork!
Wrap up!
There you have it—a complete guide on how to build a kitchen pantry cabinet in just seven easy steps! Whether you’re a beginner DIYer or a seasoned pro, we hope this guide has given you all the information (and confidence!) you need to tackle this fun project in no time at all. Happy building!