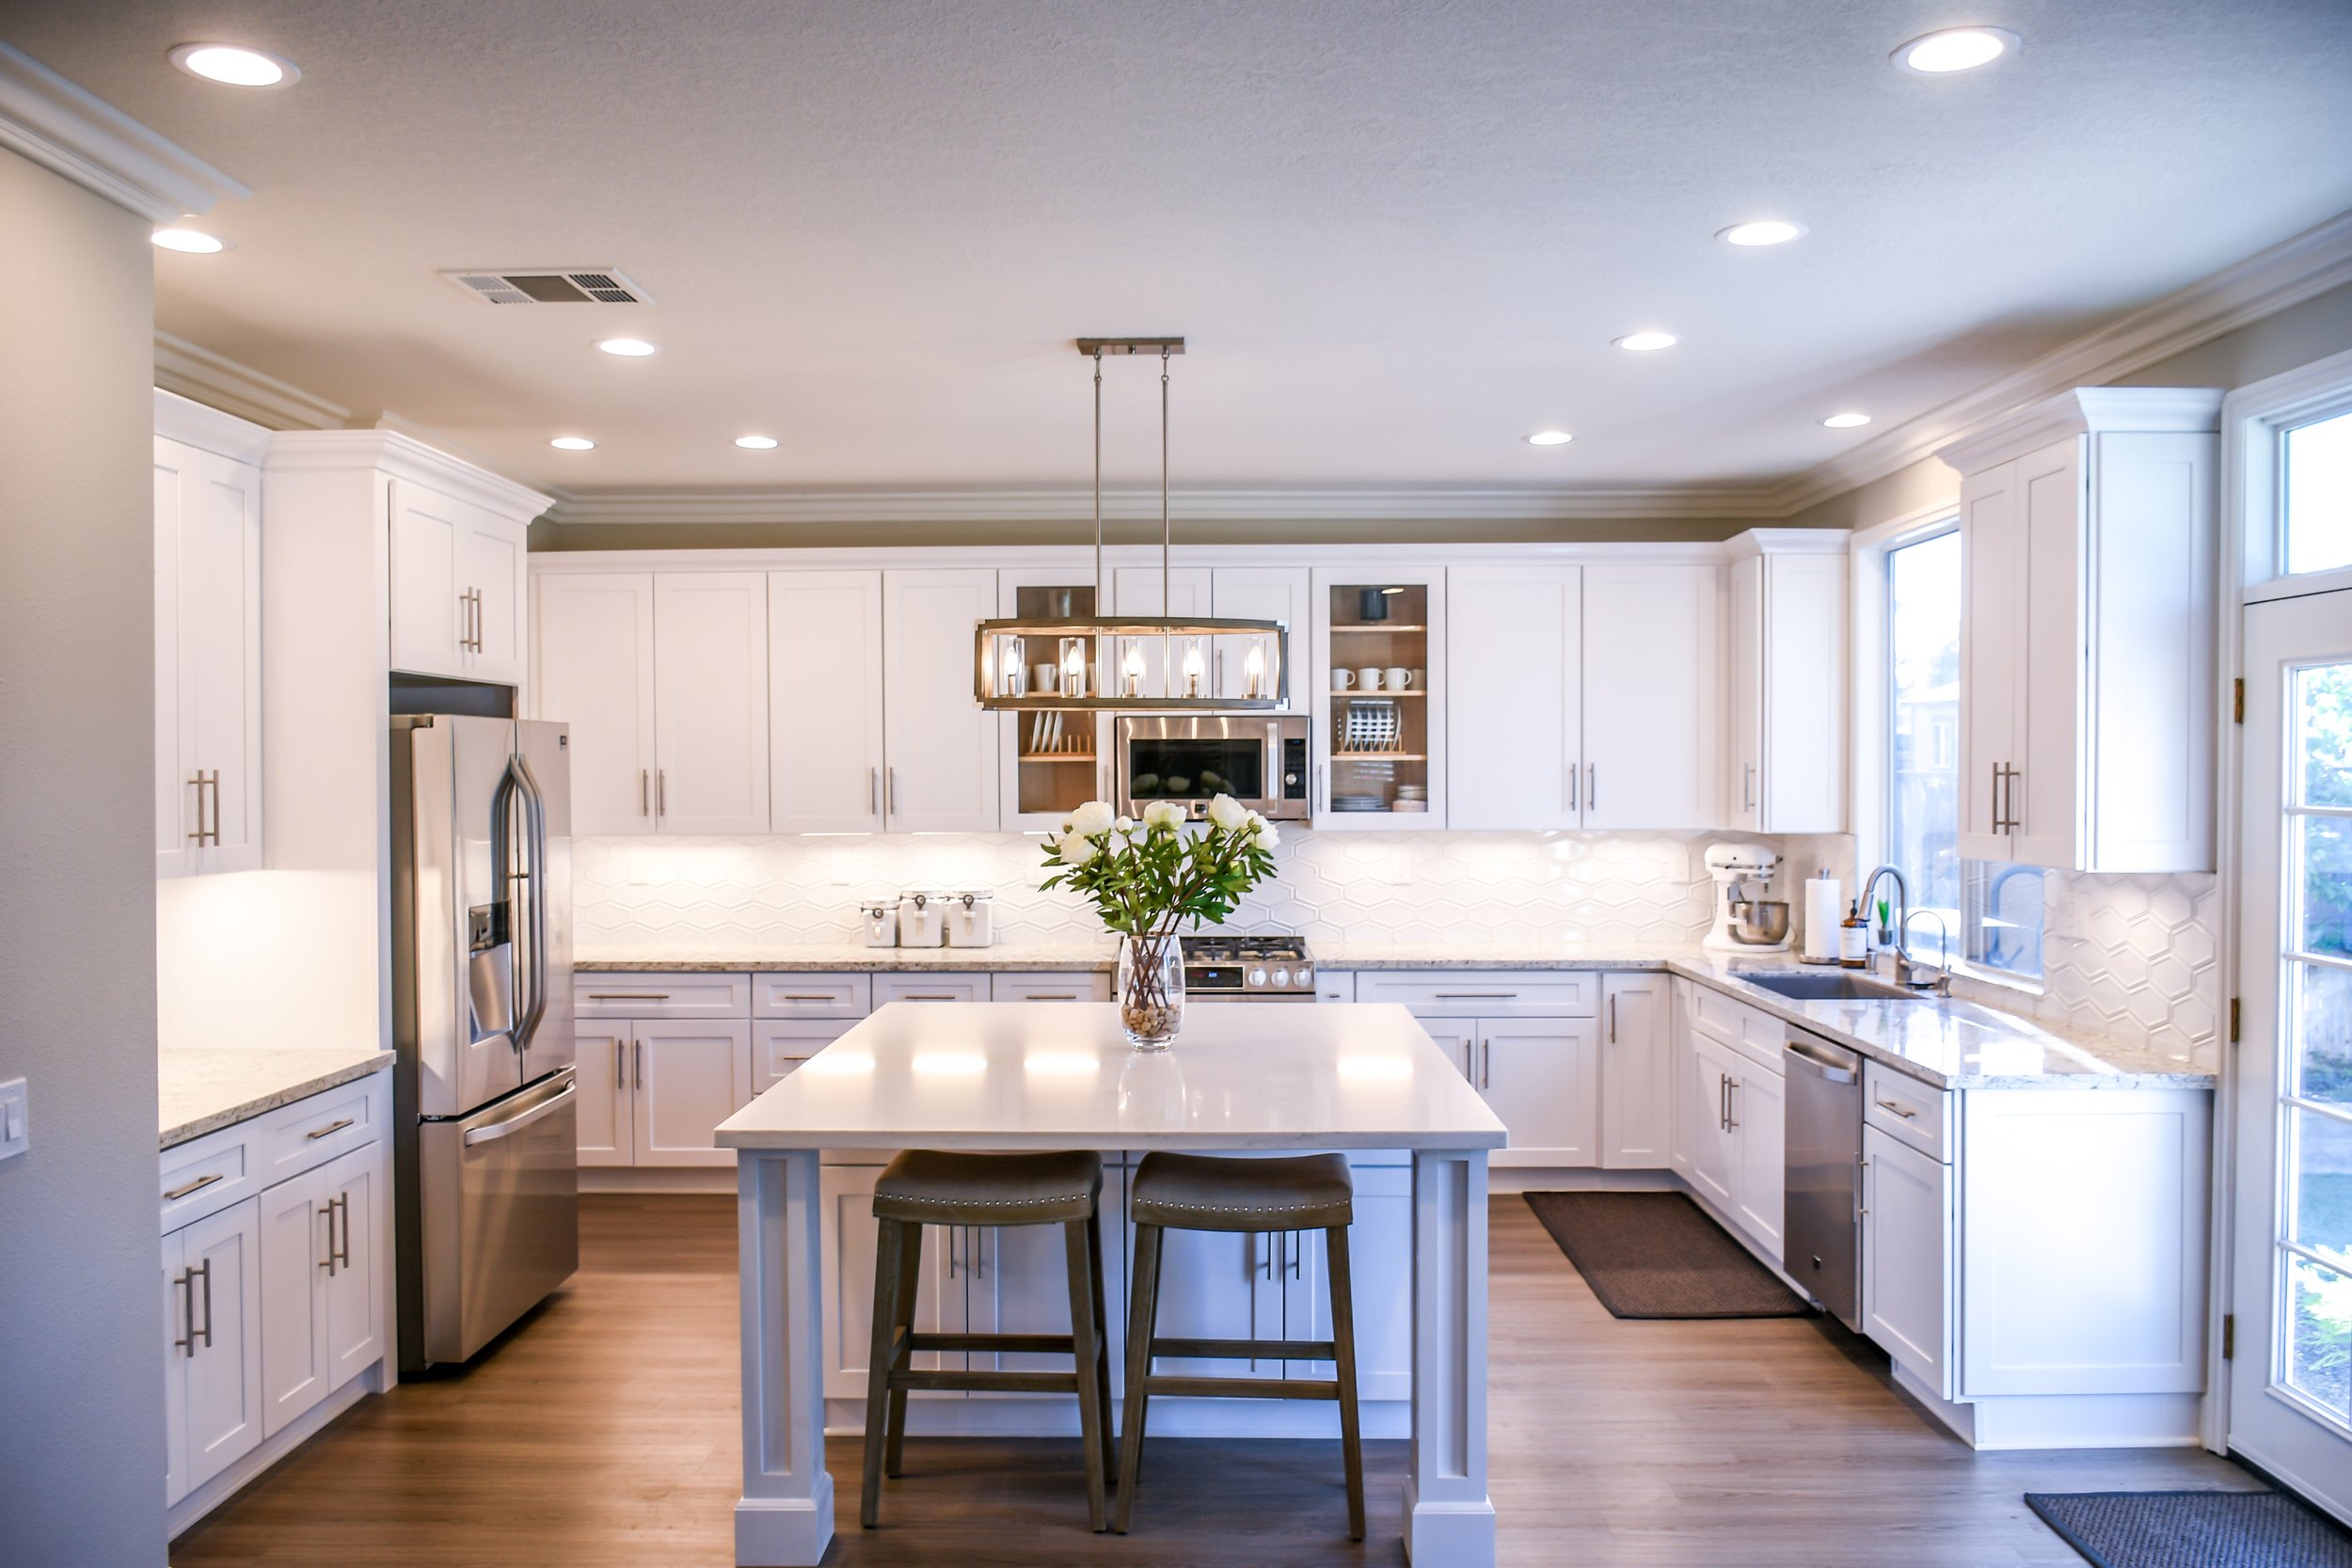
You’re tired of looking at those old, scuffed-up cabinets, and you’re ready for a change. A fresh coat of paint will give your kitchen an entirely new look—and it’s a project you can definitely do yourself. Right? Wrong.
Painting kitchen cabinets is not a weekend warrior project; it’s a task that requires time, patience, and attention to detail. But if you’re determined to DIY it, we won’t stop you. Here’s how to paint your kitchen cabinets.
Step One: Remove All the Doors and Drawers
You’ll want to start by removing all the doors and drawers from your cabinets. That way, you can paint them one by one without having to worry about getting paint everywhere. Pro tip: label each door and drawer as you remove it so you know where everything goes when it’s time to reassemble your cabinets!
Step Two: Clean All the surfaces thoroughly
Once all the doors and drawers are off, it’s time to start cleaning. You’ll want to make sure all the surfaces are free of grease, dirt, and dust before you start painting. The last thing you want is for your newly painted cabinets to start peeling because the paint couldn’t adhere properly to the surface.
To avoid that, we recommend cleaning all the surfaces with trisodium phosphate (TSP). Just mix TSP with water according to the instructions on the package, then use a sponge or brush to scrub away any grime. Once you’re finished, rinse everything off with clean water and let it dry completely before moving on to step three.
Step Three: Start Sanding…Everywhere
Now that everything is clean and dry, it’s time to start sanding—and we mean everywhere. Yes, even if your cabinets seem smooth already, they need to be sanded before you apply any paint (trust us on this one).
Start with a medium-grit sandpaper and work your way up to a fine-grit paper until every surface is nice and smooth. Don’t forget to sand in between all the nooks and crannies! Once you’re finished sanding, wipe down all the surfaces with a damp cloth to remove any dust particles left behind.
Step Four: Apply Primer…Everywhere
Just like with sanding, primer needs to go everywhere—on all the surfaces of both the doors and drawers, as well as on any exposed cabinet frames. Choose a high-quality primer designed for use on metal or wood; avoid any primers that say they’re for “bare” or “unfinished” surfaces since those won’t provide adequate coverage.
To apply primer evenly without leaving any brush strokes behind, use a foam roller designed for use with latex paint. For best results, follow the drying times listed on your primer’s packaging before moving on to step five.
Step Five: Time to Paint!
Now comes the fun part: painting! You can use either a brush or roller for this step, but we recommend using a foam roller since it will help you avoid brush strokes (especially if you’re using latex paint). For an extra smooth finish, consider investing in a mini sprayer; just make sure you read the instructions carefully before using it since most require thinning the paint first.
Like we said before, don’t forget those exposed cabinet frames! Once everything is painted, let it dry according to the instructions on your paint can before adding new hardware and reattaching the doors and drawers.
And there you have it—a quick overview of how to paint your white kitchen cabinets! We hope this has been helpful…and that your painting project turns out better than expected!
Wrap up!
Although painting kitchen cabinets is not a difficult task per se, it is very easy to screw up if you don’t take the necessary precautions. In order to avoid making any mistakes, be sure to follow these simple steps: remove all doors and drawers from cabinets; clean surfaces thoroughly; sand everywhere; apply primer everywhere; time to paint!
With these guidelines in mind, we wish you luck in giving your kitchen an entirely new look!